Condition checklists for every area you inspect.
Work through each area item by item and mark each one No Issues or Requires Attention. Add notes and photos as you go, and it all flows into the report.
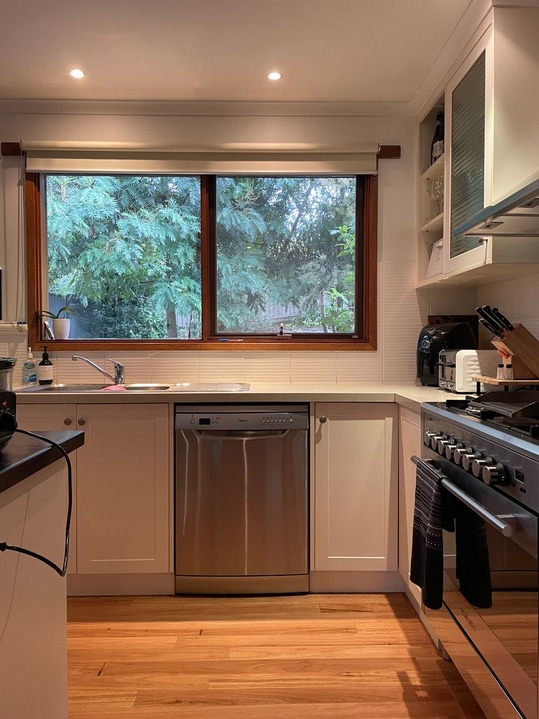
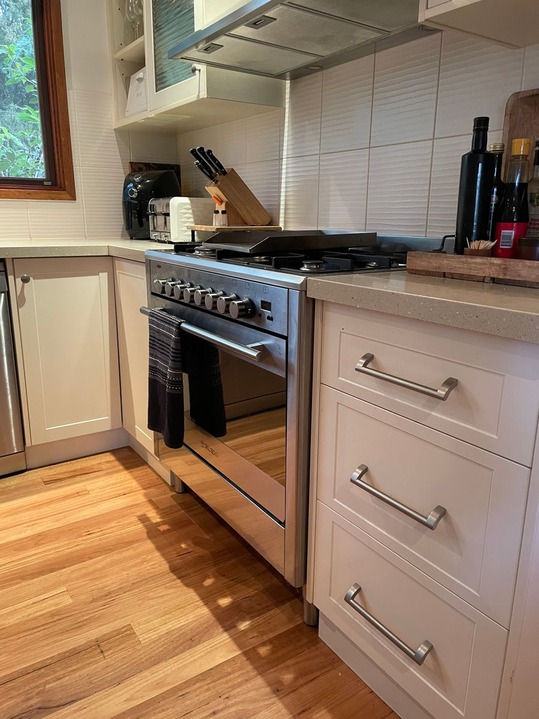
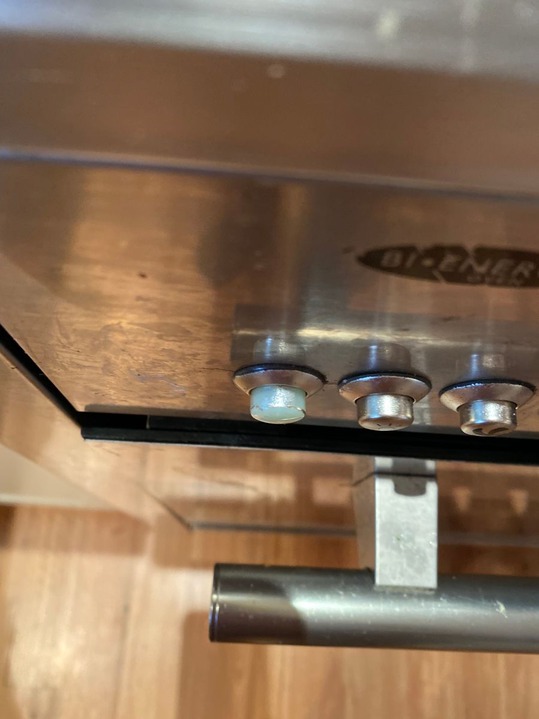
Every item, on the record.
For each thing you check, capture what you found and the proof to back it up.
A clear verdict
Mark each item No Issues or Requires Attention.
Photo evidence
Attach photos and video to the area you're inspecting. They sit with that area in the report, right alongside your notes.
A quick note
Add detail where it matters, like a scratch, a stain, or a missing fixture, without slowing down.
Related features
Continue exploring myInspections
0:14
Counter scratched near the sink
EditKitchen template applied
6-point checklist
Tested and working. Batteries due at the next visit.
Template applied
Move-in inspection
Notes
Oven knob cap is missing
Things people ask
How do condition checklists work?
Can I customize the checklists?
Do photos attach to individual areas?
Do the results go straight into the report?
Inspect the same way, every time.
Start your trial today. Walk your first inspection and let the checklist make sure nothing gets missed.